How to Build a Raised Garden Bed: Simple DIY Guide
Build a durable, productive raised garden bed in a weekend. Step-by-step instructions with materials list, cutting guide, and assembly tips.
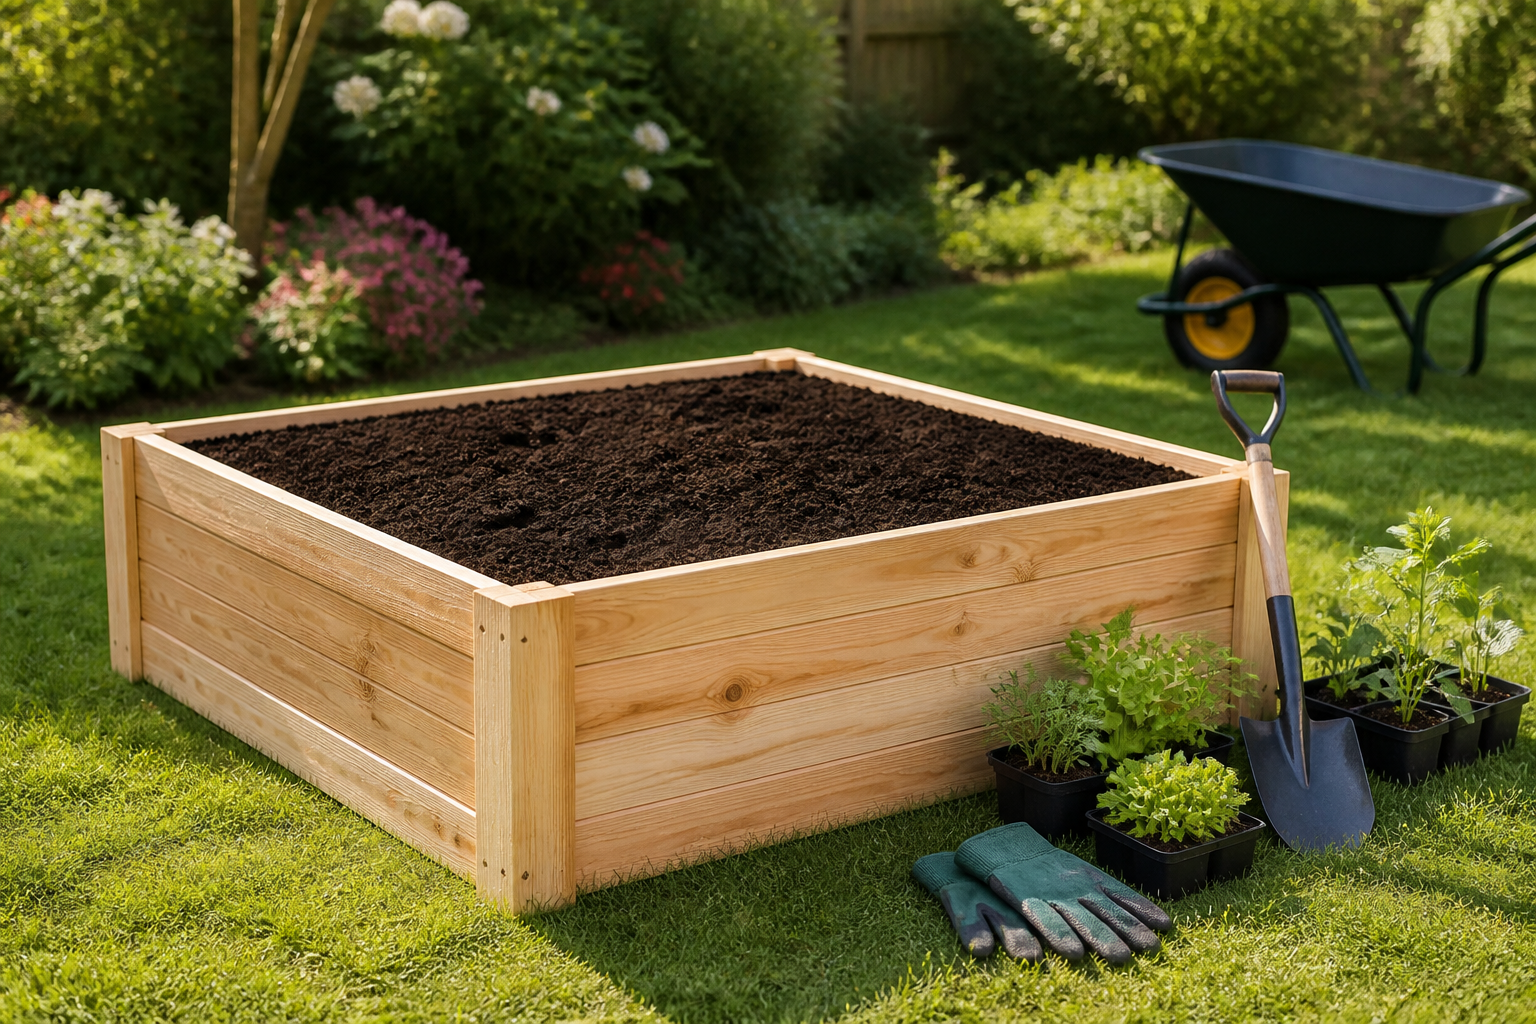
Raised garden beds offer better drainage, easier access, and longer growing seasons than in-ground gardens. Build a sturdy 4x8 foot bed in just a few hours with basic tools and materials.
Why Raised Beds?
Raised beds solve common gardening problems:
- Better soil control: Fill with quality soil mix regardless of native soil
- Improved drainage: Elevated beds drain faster, preventing waterlogged roots
- Fewer weeds: Start with clean soil and reduce weed pressure
- Easier access: Raised height reduces bending and kneeling
- Earlier planting: Soil warms faster in spring
- Extended season: Better drainage and warmer soil extend both ends of the season
Materials List
For one 4x8 foot bed, 10-11 inches tall:
Lumber:
- 3 pieces of 2x6 boards, 8 feet long (for sides)
- 3 pieces of 2x6 boards, 4 feet long (for ends; or buy three 8-footers and cut in half)
Hardware:
- 32-40 exterior-grade 3-inch deck screws
- Optional: 4 corner brackets for extra strength
Tools needed:
- Drill with driver bit
- Circular saw or hand saw (if cutting lumber)
- Measuring tape
- Carpenter’s square
- Level
- Pencil
Soil (to fill the bed):
- About 2 cubic yards (15-20 bags) of quality garden soil or soil mix
Wood Selection Tips
Best choices:
- Cedar or redwood: Naturally rot-resistant, expensive but long-lasting (15-20 years)
- Douglas fir: Good middle option, lasts 7-10 years with proper care
- Pine (untreated): Least expensive, lasts 3-5 years
Avoid:
- Pressure-treated wood containing CCA (chromated copper arsenate)
- Creosote-treated railroad ties
- Any wood treated with toxic preservatives if growing edibles
Modern pressure-treated wood (labeled “safe for garden use”) is considered safe, but many gardeners prefer untreated wood for peace of mind.
Step-by-Step Instructions
Step 1: Choose and Prepare Location
Select a spot with:
- 6-8 hours of direct sun
- Level ground (or close to it)
- Good access to water
- Away from tree roots
Clear grass and weeds from the area. You can lay cardboard or newspaper to suppress weeds, or remove sod entirely. Level any obvious bumps or dips.
Step 2: Cut Lumber (if needed)
If buying full 8-foot boards:
- Cut three 8-foot boards in half for six 4-foot pieces (for the ends)
- Keep three 8-foot boards full length (for the sides)
Step 3: Assemble the First Layer
- Lay two 8-foot boards parallel, 4 feet apart
- Place two 4-foot boards between them to form a rectangle
- Square the corners using a carpenter’s square
- Drill pilot holes to prevent splitting
- Drive 3-inch screws through the long boards into the ends of the short boards (2-3 screws per corner)
Step 4: Add Second Layer
- Stack second layer of boards on top of first
- Offset corners so seams don’t line up (creates a stronger bond)
- Check level and square
- Screw through second layer into first layer, plus into the boards beneath at corners
Step 5: Level and Position
- Move the completed frame to its final location
- Check level in both directions
- Add or remove soil under corners to level if needed
- Press frame firmly into ground
Step 6: Fill With Soil
This is the expensive part — quality soil matters more than fancy lumber.
Good soil mix options:
Option 1: Buy bagged “raised bed mix” or “garden soil”
- Convenient but expensive for large beds
- Typically 1.5-2 cubic feet per bag
- Need 15-20 bags for a 4x8 bed
Option 2: Buy bulk soil delivered
- More economical for multiple beds
- Look for “garden soil mix” or “topsoil/compost blend”
- Order 2 cubic yards for a 4x8x11-inch bed
Option 3: Mix your own (Mel’s Mix)
- 1/3 peat moss or coconut coir
- 1/3 vermiculite
- 1/3 compost (mix different types)
- Expensive but excellent quality
Fill the bed completely, mounding soil slightly — it will settle.
Pro Tips for Better Results
Line the bottom: Lay hardware cloth on the ground before assembly to exclude burrowing pests like moles and gophers. Staple to the inside bottom of the frame.
Add corner posts: For beds taller than 12 inches, add 4x4 corner posts for extra support and prevent bowing.
Stain or seal: Coat untreated wood with non-toxic sealant to extend life. Avoid sealants near edible crops until fully cured.
Proper drainage: Don’t add gravel to the bottom — it actually reduces drainage. Raised beds drain naturally.
Lay weed barrier outside: Place cardboard or landscape fabric around the outside base to reduce encroaching grass and weeds.
Size and Configuration Options
Single 4x8 bed: Perfect starter size, easy to reach center from either side
Double 4x8 beds with path: Two beds with 2-3 foot path between provides excellent growing space
4x4 bed: Good for small spaces or children’s gardens
3x6 bed: Fits in narrow spaces along fences or driveways
L-shaped or U-shaped: Maximizes corner space; creates enclosed areas
Keep beds no wider than 4 feet so you can reach the center without stepping inside.
First-Season Planting
Once filled, your bed is ready to plant immediately. For a productive first-season garden, plant:
Spring:
- Lettuce, spinach, peas, radishes
- Transplant: broccoli, cabbage
Late spring/early summer:
- Tomatoes, peppers, cucumbers, squash
- Beans, basil, herbs
Fall:
- Lettuce, kale, chard, carrots
- Garlic (plant in fall, harvest next summer)
Maintenance and Longevity
Annual tasks:
- Add 1-2 inches of compost each spring
- Check corners and reinforce if needed
- Remove weeds promptly
Every 2-3 years:
- Add fresh soil to replace what’s been depleted
- Check for rot in boards and replace if necessary
Winter care:
- Plant cover crops or mulch heavily
- Don’t leave beds bare — protects soil structure
A well-built raised bed pays for itself many times over in improved harvests and reduced work. The initial investment of time and money creates a productive garden space that lasts for years.
Cost Breakdown
Budget estimate for one 4x8 foot bed:
- Lumber: $60-120 (depending on wood type)
- Screws/hardware: $10-15
- Soil: $80-150 (bulk) or $150-200 (bagged)
- Total: $150-350
Compare this to a single season’s worth of organic produce, and the bed pays for itself in 1-2 years while providing fresh vegetables for 5-15+ years depending on wood choice.
Ready to Build?
Gather your materials, set aside a Saturday morning, and build a bed that will feed your family for years. Start with one bed to learn the process, then expand your garden as your confidence and ambition grow.
The best time to build a raised bed was last season. The second-best time is now. Get started!