DIY Drip Irrigation System for Potted Plants: Easy, Budget-Friendly Methods
Build an automatic watering system for container gardens with simple, affordable materials. Keep plants perfectly watered while you're away.
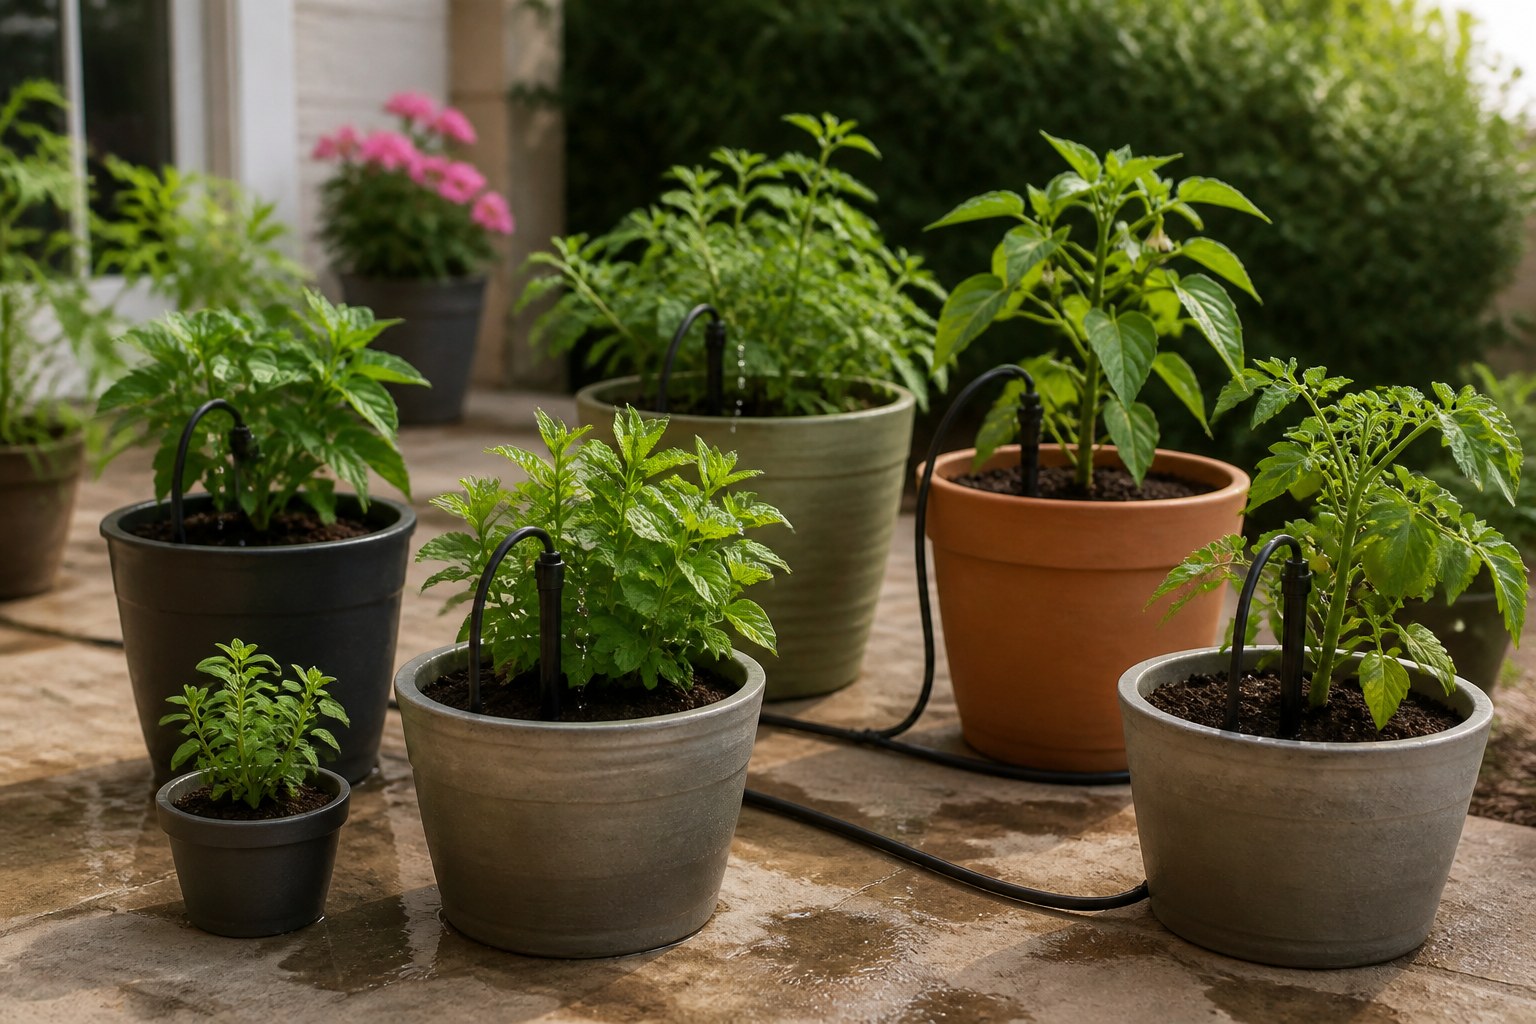
Container plants dry out faster than garden beds, requiring frequent watering — sometimes twice daily in hot weather. DIY drip irrigation provides consistent moisture, saves time, and keeps plants healthy even when you’re away.
Why Drip Irrigation for Containers?
Consistent moisture: Plants receive steady water supply, reducing stress
Time savings: Automate watering instead of hand-watering daily
Water efficiency: Delivers water directly to roots with minimal evaporation or runoff
Vacation solution: Keep plants alive when you’re away for days or weeks
Better plant health: Consistent moisture prevents blossom end rot, cracking, and wilting
Flexibility: Water many containers from one water source
Basic Drip Irrigation Principles
How drip irrigation works:
- Water source (faucet, reservoir, or gravity-fed)
- Main supply line delivers water
- Smaller drip lines or emitters go to each pot
- Water slowly drips directly onto soil
Key components:
- Water source: Hose bib, rain barrel, or elevated reservoir
- Tubing: Main line (1/2” or 1/4”) distributes water
- Emitters: Control water flow to each plant
- Timer (optional): Automates watering schedule
- Pressure regulator (if using municipal water): Reduces pressure to prevent damage
Method 1: Gravity-Fed Bottle System (Simplest)
Perfect for small numbers of pots or vacation watering.
What you need:
- Empty wine bottles, 2-liter soda bottles, or purpose-made stakes
- Water
- Optional: Drill or nail for adjusting flow
How to set up:
- Fill bottle completely with water
- Invert quickly and push neck 2-3 inches into soil
- Adjust angle until desired drip rate achieved
- Monitor first 24 hours to ensure proper flow
Wine bottle method:
- Push full inverted bottle directly into soil
- Drips slowly as soil dries and creates air space
- Lasts 3-7 days depending on pot size
Soda bottle method:
- Drill several small holes in cap (1/16” - 1/8”)
- Fill bottle and screw on cap
- Invert and bury cap end in soil
- Squeeze gently to start water flow
Pros:
- Free (uses recycled materials)
- No tools or plumbing needed
- Great for vacations
Cons:
- Needs frequent refilling
- Inconsistent flow
- Not suitable for long-term use or many pots
Best for: 1-5 pots, short-term needs (up to 2 weeks)
Method 2: Drip Line Kit System (Most Popular)
Professional-looking system for patios, decks, or balconies.
What you need:
- Drip irrigation kit or individual components:
- 1/2” main tubing
- 1/4” distribution tubing
- Drip emitters (1-4 GPH)
- Stakes or weights to secure tubing
- Tubing connectors and end caps
- Hose-end adapter
- Optional: Hose timer
Where to buy: Home improvement stores, garden centers, online (DripWorks, Drip Depot, Amazon)
Cost: $30-100 depending on number of pots and quality
How to set up:
-
Plan layout:
- Measure from water source to farthest pot
- Count number of pots needing water
- Sketch simple diagram
-
Connect to water source:
- Attach timer (optional) to faucet
- Install pressure regulator if using tap water (reduces to 15-25 PSI)
- Connect filter (prevents emitter clogging)
- Attach main 1/2” tubing
-
Run main line:
- Lay 1/2” tubing along pots
- Secure with stakes or weights
- Keep line as straight as possible
-
Install emitters:
- Punch holes in main line at each pot location (use hole punch tool)
- Insert barbed connectors
- Attach 1/4” tubing to connector
- Run tubing to pot and attach emitter
- Place emitter on soil surface
-
Flush system:
- Leave end cap off main line
- Turn on water and flush debris
- Install end cap
-
Test and adjust:
- Run system and check each emitter
- Adjust as needed
- Set timer if using automated schedule
Emitter options:
- Drip emitters: 1-4 gallons per hour
- Adjustable drippers: Control flow for different plant needs
- Misters: Fine spray for seedlings or humidity-loving plants
- Bubblers: Higher flow for large pots
Pros:
- Professional appearance
- Reliable and adjustable
- Easy to expand
- Can be automated
- Lasts many years
Cons:
- Higher upfront cost
- Requires some planning and assembly
- Can clog without filter
Best for: 6+ pots, permanent container gardens, automation
Method 3: Soaker Hose in Containers
Simple solution for raised beds or large containers.
What you need:
- Soaker hose (canvas or recycled rubber)
- Hose-end cap
- Optional: Timer
How to set up:
- Coil soaker hose loosely on soil surface in large containers
- Cover with mulch to reduce evaporation
- Connect to water source (faucet or regular hose)
- Run 30-60 minutes to deeply water
Pros:
- Inexpensive
- Simple setup
- Works well for large pots or raised beds
Cons:
- Not ideal for many small pots
- Less precise than drip emitters
- Uneven watering on slopes
Best for: Large containers, raised bed planters, grouped pots
Method 4: DIY Reservoir System (Off-Grid)
Self-contained system needing no faucet connection.
What you need:
- Large container (5-gallon bucket, storage bin, rain barrel)
- Tubing (1/4” vinyl or aquarium tubing)
- Optional: Small aquarium pump and timer
Gravity-fed version (no pump):
- Elevate reservoir 2-3 feet above pots
- Fill with water
- Run tubing from bottom of reservoir to each pot
- Control flow with inline valves or pinch clamps
- Adjust drip rate to 1-2 drops per second
Pump version:
- Place reservoir near pots (doesn’t need elevation)
- Install small submersible pump (aquarium pump works)
- Connect tubing from pump to distribution lines
- Use timer to run pump 2-3 times daily for 5-15 minutes each
Pros:
- No faucet needed
- Works anywhere
- Can use rainwater
- Low-tech or automated options
Cons:
- Reservoir needs regular refilling
- Pump version requires electricity
- Gravity version needs elevated reservoir
Best for: Balconies without faucets, using harvested rainwater, off-grid situations
Choosing the Right Emitters
Drip emitters (1-4 GPH):
- Standard for most container plants
- Consistent flow rate
- Choose GPH based on pot size
Adjustable drippers:
- Turn dial to control flow
- Perfect for mixed container sizes
- More expensive but versatile
Pressure-compensating emitters:
- Maintain consistent flow regardless of pressure changes
- Best for long runs or varying elevations
- Worth the extra cost for large systems
Inline drippers:
- Built into distribution tubing
- Spaced 6”, 12”, or 18” apart
- Good for raised bed planters
Emitter sizing guide:
- Small pots (under 1 gallon): 0.5-1 GPH
- Medium pots (1-3 gallons): 1-2 GPH
- Large pots (5+ gallons): 2-4 GPH or multiple emitters
Setting Up Automated Watering
Hose timers take your system from manual to automatic.
Basic mechanical timer: $15-30
- Dial settings
- Single daily watering
- Battery-powered
Digital programmable timer: $40-80
- Multiple programs per day
- Different schedules for different days
- LCD display
Smart WiFi timer: $80-150
- Control via smartphone
- Weather-based adjustments
- Integration with smart home systems
Watering schedule recommendations:
Hot weather (85°F+):
- Morning: 30-60 minutes
- Evening: 15-30 minutes
Moderate weather (65-85°F):
- Morning: 30-45 minutes
- Skip evening or reduce significantly
Cool weather (below 65°F):
- Every other day: 20-30 minutes
- Or reduce frequency further
Adjust based on:
- Rainfall
- Pot size
- Plant water needs
- Soil drainage
Maintenance and Troubleshooting
Regular Maintenance
Weekly checks:
- Verify all emitters are dripping
- Look for leaks or disconnected tubing
- Clear any clogged emitters
- Adjust flow as needed
Monthly tasks:
- Flush system (remove end cap, run water)
- Clean or replace filter
- Check for algae growth in reservoir systems
- Inspect tubing for damage
Seasonal:
- Drain system before freezing weather
- Store timer and removable components indoors
- Inspect entire system at season start
Troubleshooting Common Problems
Emitters not dripping:
- Check water source is on
- Verify timer is working
- Look for kinked tubing
- Clear clogged emitter with pin
- Check for air locks (run water to purge)
Uneven watering:
- Adjust individual emitter flow
- Check for pressure loss (too many emitters)
- Verify emitters are same type/rating
- Consider pressure-compensating emitters
Algae in tubing:
- Use opaque tubing (blocks light)
- Add algae inhibitor to reservoir
- Flush system regularly
- Keep reservoir covered
Tubing leaks at connections:
- Use tubing clamps
- Replace worn components
- Ensure proper barbed fittings
- Apply thread seal tape where appropriate
Water Conservation Tips
Mulch containers: 1-2 inches of organic mulch reduces evaporation
Group pots: Create microclimates with higher humidity
Choose appropriate pot sizes: Oversized pots waste water
Use quality potting soil: Good water retention reduces watering frequency
Morning watering: Less evaporation than midday
Collect water: Use drip system runoff for other plants
For comprehensive watering principles applicable to all garden areas, see our Lawn Watering Guide: Best Practices for a Healthy Green Lawn.
Cost Analysis
Basic bottle system: $0-5 (recycled materials)
Drip line kit for 10 pots: $40-70
Professional setup with timer (20 pots): $100-200
Time savings: 10-30 minutes daily = 60-180 hours per growing season
Water savings: 30-50% compared to hand watering
Return on investment: Usually pays for itself in one season through time and water savings
Winterizing Your System
Before first freeze:
- Drain all water from tubing and emitters
- Disconnect timer and bring indoors
- Remove pump from reservoir systems
- Blow out lines with compressed air (optional)
- Store removable components in garage or shed
- Leave permanent tubing in place or remove and store
Early spring:
- Inspect all components
- Replace damaged tubing or emitters
- Flush entire system before use
- Test timer and adjust schedule
The Bottom Line
DIY drip irrigation for containers ranges from simple wine bottle stakes to sophisticated automated systems. Choose the method that fits your needs, budget, and skill level.
Quick recommendations:
- 1-5 pots, vacation watering: Bottle method
- 6-15 pots, permanent setup: Basic drip kit
- 15+ pots, want automation: Drip kit with timer
- No faucet access: Reservoir system
The initial setup takes 1-4 hours depending on complexity, but saves hours every week afterward. Consistent watering produces healthier, more productive plants.
Start simple, learn the system, and expand as needed. Your plants will thrive with steady moisture, and you’ll enjoy more time sitting in your garden instead of watering it.