How to Make Your Own Organic Potting Soil: 3 Methods + Sterilization
Save money and customize potting mix for any plant. Learn three DIY recipes, when sterilization is needed, and how to do it safely at home.
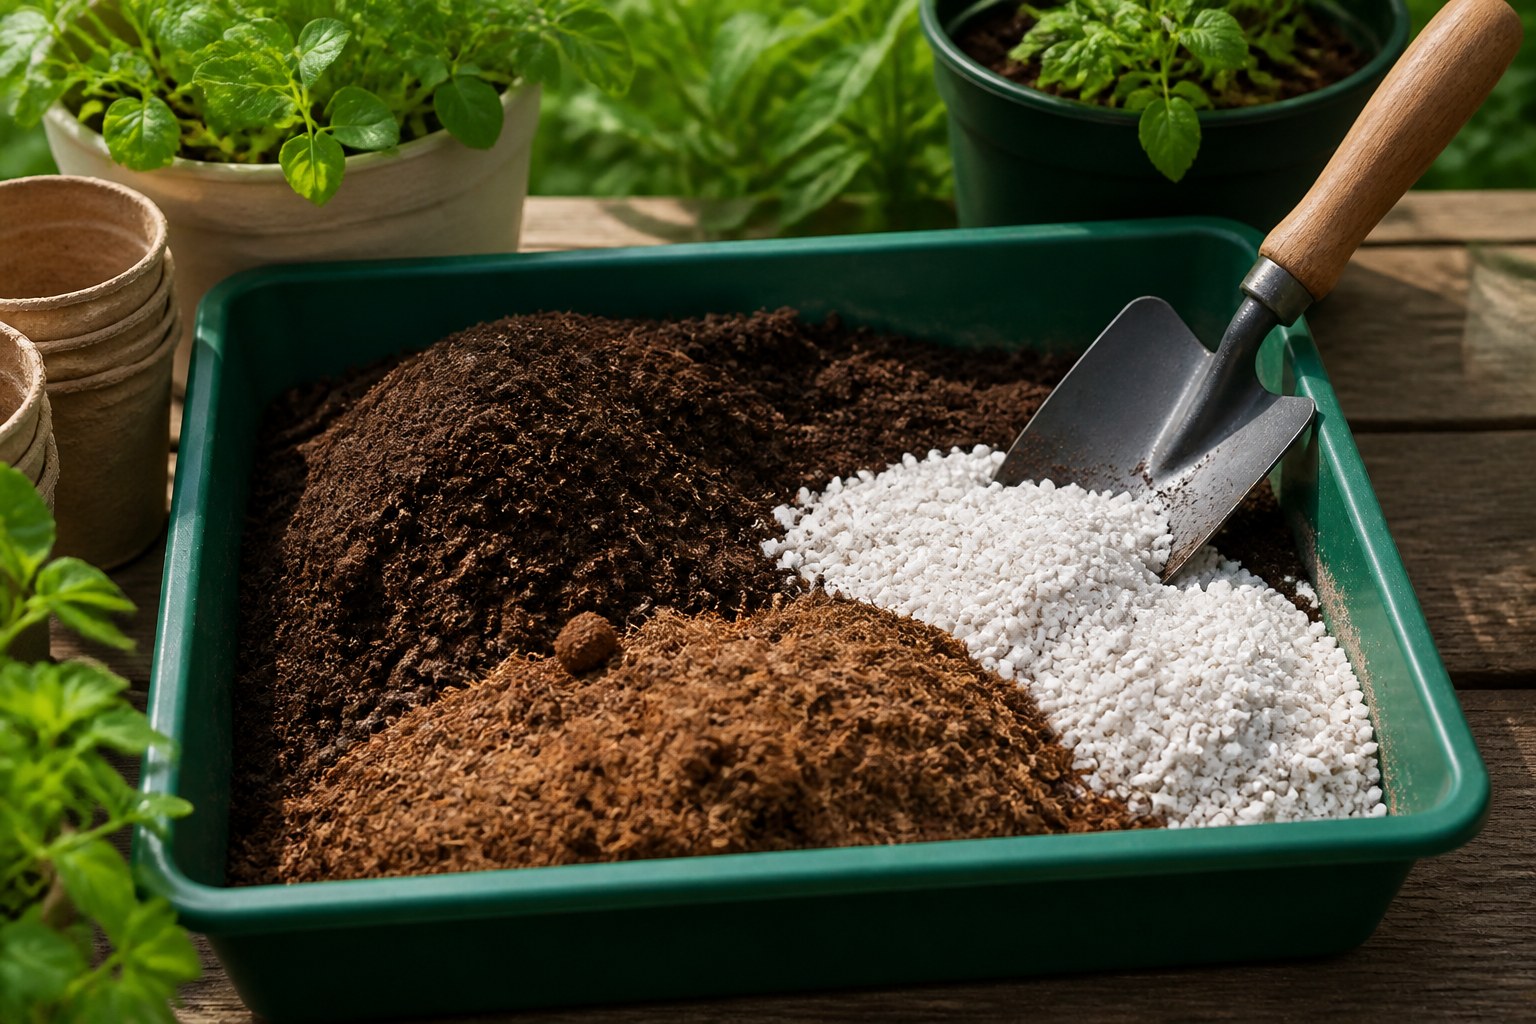
Store-bought potting soil is expensive, especially for serious container gardeners. Making your own organic potting mix is cheaper, customizable, and surprisingly simple. Here’s how to create perfect soil for any plant.
Why Make Your Own Potting Soil?
Cost savings: DIY mixes cost 50-70% less than commercial products
Customization: Adjust ingredients for specific plants (succulents, orchids, vegetables)
Quality control: Know exactly what’s in your soil — no mystery ingredients or contamination
Bulk availability: Make large quantities for multiple containers
Sustainability: Reuse components and reduce plastic packaging waste
Potting Soil vs. Garden Soil
Never use garden soil in containers. Here’s why:
Garden soil:
- Too heavy and dense
- Compacts in containers, choking roots
- Poor drainage
- May contain weed seeds, pests, and diseases
Potting soil:
- Lightweight and airy
- Excellent drainage
- Sterile (no weed seeds or pathogens)
- Retains moisture while allowing air circulation
Potting mix is engineered for container growing — different physics, different requirements.
Basic Potting Soil Components
Understanding ingredients helps you create custom mixes.
Base Materials (Drainage and Aeration)
Peat moss:
- Retains moisture while staying light
- Slightly acidic (pH 3.5-4.5)
- Slow to decompose
- Alternative: Coco coir (more sustainable, pH neutral)
Coco coir:
- Coconut husk fiber
- Excellent water retention
- Renewable resource
- pH neutral (better for most plants than peat)
Pine bark fines:
- Improves drainage
- Adds structure
- Slowly decomposes
- Slightly acidic
Drainage Amendments
Perlite:
- Volcanic glass (white lightweight particles)
- Improves aeration and drainage
- Doesn’t decompose
- Prevents compaction
Vermiculite:
- Expanded mica
- Holds water and nutrients
- Improves aeration
- Helps retain moisture
Coarse sand (builder’s sand, not beach sand):
- Improves drainage
- Adds weight to light mixes
- Prevents waterlogging
Nutritional Components
Compost:
- Adds nutrients and beneficial organisms
- Improves water retention
- Provides slow-release nutrition
- Must be fully finished to avoid issues
Worm castings:
- Rich in nutrients and beneficial microbes
- Gentle — won’t burn plants
- Expensive but highly effective
- Improves disease resistance
Composted manure:
- High in nutrients
- Must be fully aged/composted
- Can be “hot” if not properly matured
Recipe 1: All-Purpose Container Mix
Perfect for vegetables, flowers, and most container plants.
Ingredients (by volume):
- 40% peat moss or coco coir
- 30% compost or aged manure
- 20% perlite
- 10% vermiculite
Optional additions:
- 1 tablespoon lime per gallon (if using peat moss)
- 1/4 cup worm castings per gallon
- Slow-release organic fertilizer per package directions
Characteristics:
- Good moisture retention
- Excellent drainage
- Moderate fertility
- Suitable for most plants
Best for: Tomatoes, peppers, herbs, annual flowers, general container gardening
Recipe 2: Seed Starting Mix
Light, sterile, fine texture for germinating seeds.
Ingredients (by volume):
- 50% peat moss or coco coir (finely screened)
- 30% vermiculite
- 20% perlite
No compost: Seeds don’t need nutrients initially, and compost can harbor pathogens
Optional addition: Fine-screened worm castings (10% maximum)
Characteristics:
- Very light and fluffy
- Excellent moisture retention
- Fine texture for small seeds
- Low fertility (intentional)
Best for: Starting seeds, rooting cuttings
Note: Transplant seedlings to richer soil once they develop true leaves.
Recipe 3: Cactus and Succulent Mix
Fast-draining mix prevents root rot in plants that hate wet feet.
Ingredients (by volume):
- 25% peat moss or coco coir
- 25% perlite
- 25% coarse sand
- 25% fine bark or pumice
Optional addition: Small amount of compost (10% maximum)
Characteristics:
- Rapid drainage
- Low water retention
- Gritty texture
- Low to moderate fertility
Best for: Cacti, succulents, jade plants, any plant requiring excellent drainage
How to Mix Your Potting Soil
Equipment Needed
- Large container (wheelbarrow, tub, or tarp)
- Measuring container (bucket)
- Dust mask (peat and coir create dust)
- Gloves
- Water source
- Mixing tool (shovel, hoe, or hands)
Mixing Steps
-
Measure ingredients by volume using consistent container (like 5-gallon bucket)
-
Add dry ingredients first (peat/coir, perlite, vermiculite)
-
Mix thoroughly until uniform — no clumps or streaks
-
Add compost and mix again
-
Moisten gradually: Spray with water while mixing until evenly damp (like a wrung-out sponge)
-
Let sit 24 hours before using — allows moisture to distribute evenly
-
Store in sealed containers (lidded bins, bags) to maintain moisture
Pre-Moistening is Critical
Dry peat and coir are hydrophobic — they repel water initially.
How to pre-moisten:
- Add water gradually while mixing
- Mix, wait 10 minutes, mix again
- Keep adding water until evenly moist throughout
- Properly moistened mix should clump when squeezed but not drip
Well-moistened mix:
- Easier to work with
- Roots establish faster
- No dry pockets that plants can’t penetrate
When and How to Sterilize Potting Soil
Sterilization kills pathogens, weed seeds, and pests — but it also kills beneficial organisms.
When Sterilization Is Needed
Always sterilize for:
- Seed starting
- Propagating cuttings
- Reusing old potting soil
- Using homemade compost that didn’t reach high temperatures
Usually not necessary for:
- Fresh commercial components (peat, coco coir, perlite)
- Using quality finished compost in mature plant containers
- Plants with strong immune systems
Method 1: Oven Sterilization
Best for: Small batches
Steps:
- Preheat oven to 180-200°F (82-93°C)
- Place moistened soil in oven-safe container (max 4 inches deep)
- Cover with foil
- Insert meat thermometer into center
- Heat until center reaches 180°F for 30 minutes
- Turn off oven and let cool with door closed
- Remove and let cool completely before using
Warning: Creates earthy, musty smell throughout house — not pleasant
Don’t overheat: Temperatures above 200°F can release toxins or create hydrophobic soil
Method 2: Microwave Sterilization
Best for: Very small batches (under 2 pounds)
Steps:
- Place moistened soil in microwave-safe container
- Cover loosely with lid or microwave-safe plastic wrap
- Microwave on high for 90 seconds per 2 pounds of soil
- Check center temperature (should reach 180°F)
- Let cool completely before using
Pros: Fast, convenient for small amounts
Cons: Strong smell, uneven heating, limited capacity
Method 3: Steam Sterilization
Best for: Large batches, professional growers
Equipment needed:
- Large pot with lid and steaming rack
- Or pressure cooker
- Or dedicated soil steamer
Steps:
- Add water to bottom of pot (below soil level)
- Place soil in steaming container or bags with holes
- Steam for 30-60 minutes (until center reaches 180°F)
- Let cool before using
Pros: Effective, handles larger volumes, even heating
Cons: Time-consuming, requires equipment
Solar Sterilization (Solarization)
Best for: Large quantities in warm climate
Steps:
- Moisten soil thoroughly
- Place in black plastic bags
- Seal tightly
- Place in full sun on hot surface (pavement, metal)
- Leave for 4-6 weeks in summer
- Soil should reach 140°F+ on sunny days
Pros: Free, easy, handles large volumes
Cons: Very slow, climate-dependent, less reliable
After Sterilization: Rebuilding Biology
Sterilization kills beneficial organisms along with harmful ones.
Reintroduce beneficial life:
- Mix in 10-20% quality compost
- Add mycorrhizal fungi inoculant
- Include worm castings
- Water with compost tea
Wait 1-2 weeks after adding biology before planting if possible.
Fertilizing Homemade Potting Soil
DIY mixes vary in fertility depending on compost content.
At mixing:
- Add slow-release organic fertilizer (per package directions)
- Include worm castings for slow nutrition
- Mix in compost for moderate fertility
During growing season:
- Container plants need regular feeding (nutrients leach out)
- Liquid fertilizer every 2-4 weeks, OR
- Side-dress with compost every 4-6 weeks
Adjusting pH
Most plants prefer: pH 6.0-7.0
Peat moss is acidic: Add lime to neutralize
- 1 tablespoon dolomitic lime per gallon of peat-based mix
Coco coir is pH neutral: Usually doesn’t need adjustment
Compost: Usually near-neutral pH
Test pH if growing acid-loving (blueberries, azaleas) or alkaline-loving plants.
Storage and Shelf Life
Proper storage:
- Keep in sealed containers (bins, heavy-duty bags)
- Store in cool, dry location
- Keep slightly moist (not bone dry or soggy)
- Label containers with recipe and date
Shelf life:
- Without compost: 6-12 months
- With compost: 3-6 months (use sooner to preserve biology)
- Signs of degradation: Foul smell, mold, breakdown of organic matter
Reusing and Refreshing Old Potting Soil
Don’t throw away old potting soil — refresh and reuse it.
Process:
- Remove dead plant material and roots
- Break up compacted sections
- Sterilize (especially if previous plants had disease)
- Mix with fresh compost (25-30%)
- Add new perlite or vermiculite to restore drainage
- Add fertilizer
When to discard:
- Severe disease in previous crop
- Heavy salt buildup (white crust)
- Completely broken down and dense
- Persistent foul odor
For more information on creating quality compost for your potting mix, read our Composting 101: Complete Beginner’s Guide to Making Compost.
Troubleshooting DIY Potting Soil
Mix is too dense/heavy: Add more perlite or vermiculite
Drains too fast: Add more peat or coco coir
Stays too wet: Increase perlite, reduce water-retaining components
Plants yellowing: Add fertilizer or compost — mix may be too lean
Soil is hydrophobic (water runs off): Pre-moisten components better before mixing
White mold on surface: Usually harmless saprophytic fungi; scrape off or mix in
Cost Comparison
Store-bought potting soil: $0.15-0.30 per quart
DIY potting soil: $0.05-0.10 per quart
Savings: 50-70% for equal or better quality
Initial investment: Buying components in bulk has upfront cost but pays off after several batches
The Bottom Line
Making your own organic potting soil is easy, economical, and effective. Start with the all-purpose recipe, adjust as needed, and customize for specific plants.
Key points:
- Never use garden soil in containers
- Pre-moisten peat and coco coir before mixing
- Sterilize for seed starting and reused soil
- Add compost for nutrition and beneficial biology
- Store properly to maintain quality
Mix your first batch, and you’ll never want to buy potting soil again. The savings, quality, and customization are worth the minimal effort.
Your plants will thrive in soil you’ve tailored specifically for their needs — and your wallet will thank you too.