How to Make Your Own Fertilizer Simply and Naturally
Create effective homemade fertilizers from kitchen scraps, grass clippings, and weeds. Free, organic plant nutrition that feeds your garden without chemicals.
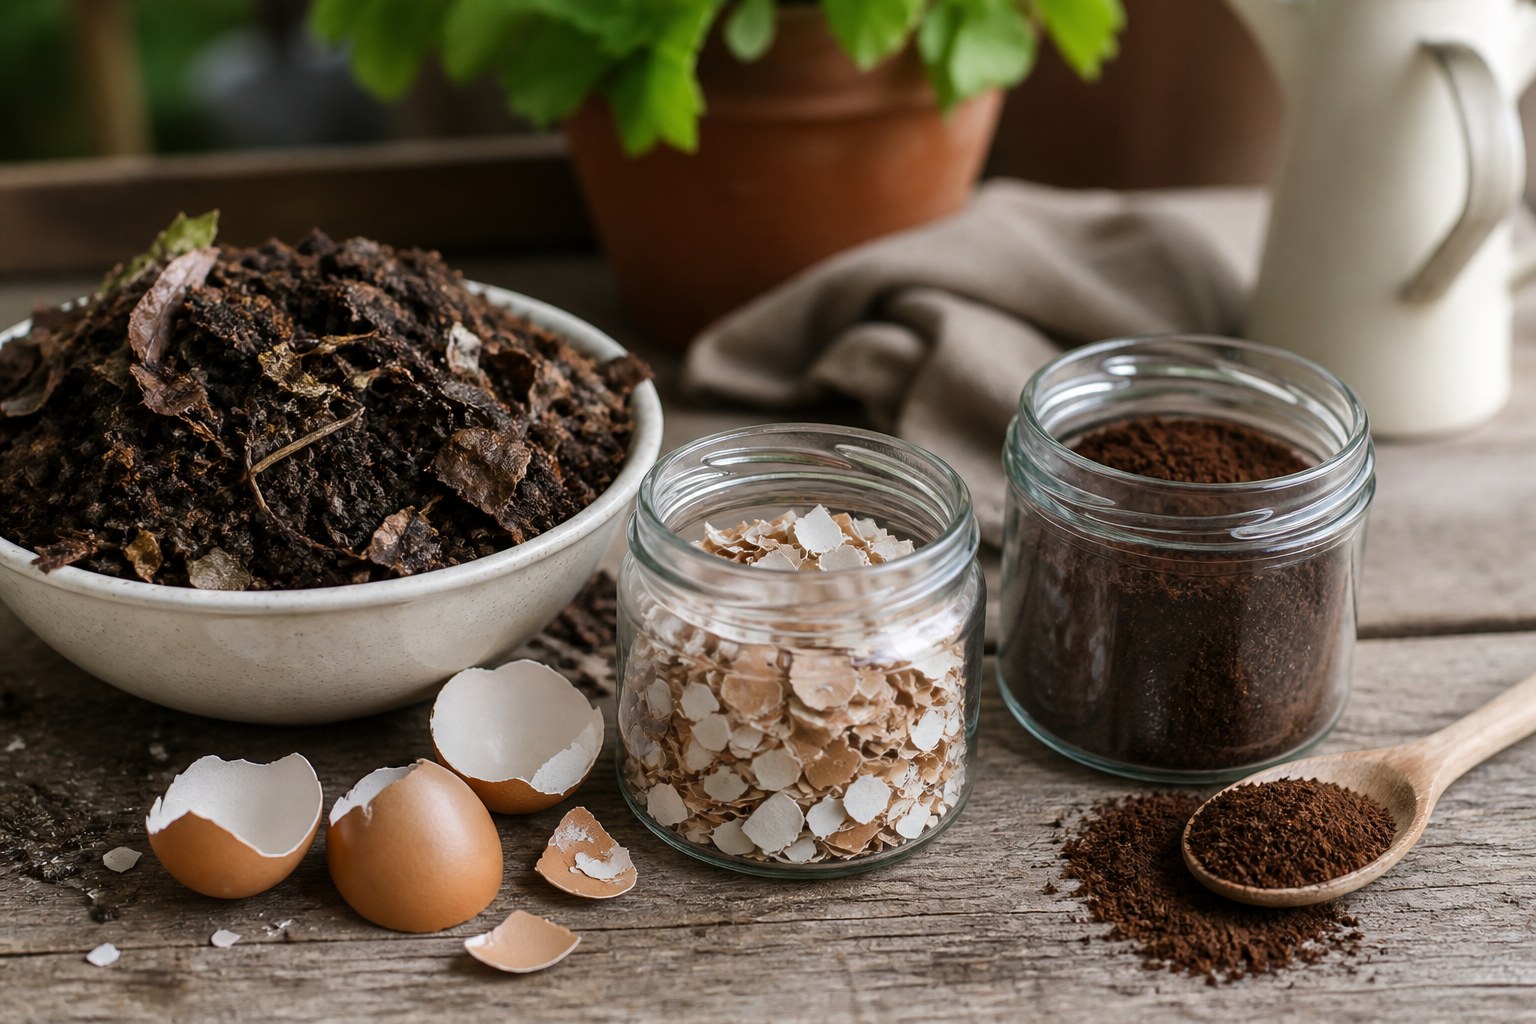
Commercial fertilizers work, but you’re literally throwing away free plant food every week. Kitchen scraps, yard waste, and common weeds contain the same nutrients plants need — nitrogen, phosphorus, and potassium. Here’s how to transform trash into effective homemade fertilizers.
Why Make Your Own Fertilizer?
Benefits:
- Free: Uses materials you already have
- Organic: No synthetic chemicals
- Reduces waste: Diverts material from trash
- Builds soil: Adds organic matter, not just nutrients
- Sustainable: Closes the nutrient loop in your garden
What homemade fertilizers provide:
- Nitrogen (N): Leaf and stem growth
- Phosphorus (P): Root development and flowering
- Potassium (K): Overall plant health and disease resistance
- Micronutrients: Iron, calcium, magnesium
- Beneficial microorganisms
Realistic expectations: Homemade fertilizers are gentler and slower-acting than synthetic options. They’re excellent for maintaining healthy gardens but may not rescue severely deficient plants quickly.
1. Grass Clipping Fertilizer
Fresh grass clippings are nitrogen-rich and break down quickly.
Method 1: Grass Clipping Mulch
Materials:
- Fresh grass clippings (untreated lawns only)
- No herbicide or pesticide residue
Application:
- Let clippings dry 24 hours (prevents matting)
- Spread 1-2 inch layer around plants
- Keep away from stems (2-3 inch gap)
- Replenish as clippings decompose
Benefits:
- Slow-release nitrogen (4-6 weeks)
- Suppresses weeds
- Retains moisture
- Improves soil as it breaks down
Caution: Don’t use thick layers of fresh clippings — they mat, smell, and prevent air circulation.
Method 2: Grass Tea (Liquid Nitrogen)
Materials:
- 2 gallons fresh grass clippings
- 5-gallon bucket with lid
- Water
Method:
- Fill bucket ⅔ full with grass clippings
- Top with water
- Cover (reduces smell)
- Steep 3-5 days, stirring daily
- Strain liquid
- Dilute 1:10 (1 cup tea : 10 cups water)
Application:
- Water plants at base
- Use within 2 weeks
- Apply every 2-3 weeks during growing season
Best for: Leafy greens, lawns, any plants needing nitrogen boost
2. Coffee Grounds Fertilizer
Coffee grounds provide nitrogen, potassium, phosphorus, and trace minerals.
Nutrient content:
- Nitrogen: 2%
- Phosphorus: 0.3%
- Potassium: 0.3%
- pH: Slightly acidic (good for most plants)
Application Methods
Direct application:
- Let grounds dry (optional but spreads easier)
- Sprinkle ¼-inch layer around plants
- Scratch into top 1-2 inches of soil
- Water in
Frequency: Monthly during growing season
Best for: Roses, azaleas, blueberries, tomatoes, carrots, radishes
Compost addition:
- Mix grounds with brown materials
- Don’t exceed 20% of total compost volume
- Speeds decomposition
Coffee ground tea:
- Steep ½ cup grounds in 1 gallon water overnight
- Strain
- Use undiluted as gentle liquid fertilizer
Important: Used grounds only (fresh grounds too acidic and can inhibit growth)
3. Eggshell Calcium Fertilizer
Eggshells are 95% calcium carbonate — essential for cell wall strength and preventing blossom end rot.
Method:
Preparation:
- Rinse shells to remove residue
- Dry completely (air dry or 200°F oven for 10 minutes)
- Crush or grind to powder
- Store in jar
Application:
- Sprinkle 1-2 tablespoons around base of plants
- Work into soil
- Water thoroughly
Timing: At planting and monthly during growing season
Best for: Tomatoes, peppers, eggplants (prevents blossom end rot)
Speed: Eggshells break down slowly (months). For faster results, grind to fine powder or use eggshell tea.
Eggshell tea (fast-acting calcium):
- Crush 10-12 eggshells
- Boil in 1 gallon water for 3 minutes
- Let steep overnight
- Strain and use undiluted
4. Nettle Tea (High-Nitrogen Liquid Fertilizer)
Stinging nettle produces one of the richest homemade fertilizers — high in nitrogen, iron, and trace minerals.
Materials:
- 1 pound fresh nettle leaves (wear gloves!)
- 2 gallons water (rainwater ideal)
- Large bucket with lid
Method:
- Chop nettles into pieces
- Place in bucket
- Add water
- Cover loosely (releases gas during fermentation)
- Steep 2-3 weeks, stirring every few days
- Strain when foaming stops and liquid is dark brown
- Dilute 1:10 for watering or 1:20 for foliar spray
Application:
- Water plants every 2 weeks during growing season
- Spray on leaves for quick nitrogen boost
Best for: Tomatoes, peppers, leafy greens, any heavy feeders
Warning: Smells terrible during fermentation. Place bucket away from house and living areas.
What it does:
- Nourishes with nitrogen
- Provides trace minerals
- Strengthens plant immunity
- Deters aphids when used as spray
Don’t use on: Beans, peas, onions (too much nitrogen reduces yield)
5. Manure Tea (Balanced Fertilizer)
Animal manure is balanced fertilizer — contains N-P-K plus organic matter.
Materials:
- 1 shovelful aged manure (cow, horse, chicken, rabbit)
- 5-gallon bucket
- Water
- Burlap sack or old pillowcase (optional)
Method:
Quick version:
- Place manure in bucket
- Fill with water
- Steep 3-5 days, stirring daily
- Strain
- Dilute 1:20 (very important — strong solution burns plants)
Slow version (better nutrient extraction):
- Place manure in burlap sack
- Suspend sack in water-filled bucket (tie to stick across top)
- Steep 2-3 weeks
- Remove sack
- Dilute 1:10
Application:
- Water plants every 2-3 weeks
- Use on vegetables, flowers, lawns
Best manure types:
- Chicken: Highest N-P-K (must age 6+ months or use in tea)
- Cow: Balanced, gentle
- Horse: Moderate nutrients, good for soil structure
- Rabbit: High nitrogen, doesn’t need aging
Never use: Dog or cat manure (may contain harmful pathogens)
Important: Only use aged/composted manure or manure tea. Fresh manure burns plants and may contain harmful bacteria.
6. Compost Tea (Complete Fertilizer)
Finished compost steeped in water creates liquid fertilizer rich in nutrients and beneficial microorganisms.
Materials:
- 2 cups finished compost
- 1 gallon water
- Bucket
- Old t-shirt or cheesecloth
Method:
- Place compost in center of cloth
- Tie into bag
- Suspend in water-filled bucket
- Steep 3-7 days
- Remove bag
- Use undiluted
Application:
- Water plants every 2 weeks
- Use as foliar spray (strain well first)
Benefits:
- Balanced nutrition
- Adds beneficial bacteria and fungi
- Improves disease resistance
- Gentle (won’t burn plants)
For complete guidance on making high-quality compost, see our composting 101 guide.
7. Banana Peel Potassium Boost
Banana peels are potassium-rich — excellent for flowering and fruiting plants.
Method 1 — Burial:
- Chop peels into pieces
- Bury 2-4 inches deep around plants
- Decompose in 2-4 weeks
Method 2 — Banana tea:
- Steep 3-5 peels in 1 gallon water
- Leave 3-5 days
- Strain
- Dilute 1:4
- Water plants weekly
Best for: Tomatoes, peppers, roses, flowering annuals
For six detailed banana peel fertilizer methods, see our complete banana peel uses guide.
8. Wood Ash Potassium and pH Adjuster
Hardwood ash from fireplace or burn pile contains potassium, calcium, and trace minerals. Also raises soil pH.
Nutrient content:
- Potassium: 3-7%
- Calcium: 25-45%
- pH: Very alkaline (10-13)
Application:
- Spread thin layer (¼ inch maximum) on soil
- Work into top few inches
- Water in
Timing: Once or twice per year maximum
Best for: Acidic soils; plants needing potassium (tomatoes, carrots, root crops)
Avoid:
- Acid-loving plants (blueberries, azaleas, rhododendrons)
- Alkaline soils
- Excessive application (causes nutrient imbalances)
Never use: Ash from treated wood, coal, or charcoal briquettes (contains toxins)
9. Potato Cooking Water
Water used to boil potatoes contains vitamins, minerals, and starch that feed plants.
Method:
- Save water after boiling potatoes (unsalted!)
- Let cool completely
- Use undiluted to water houseplants or garden
Application: Weekly for houseplants; monthly for garden
Also works with: Water from steaming vegetables, cooking pasta (no salt or oil)
Don’t use: Salted water (salt harms plants)
All-Purpose Homemade Fertilizer Blends
Complete Liquid Fertilizer Recipe
Combines multiple ingredients for balanced nutrition:
Ingredients:
- 4 dried, ground banana peels (potassium)
- 3 crushed, dried eggshells (calcium)
- 1 tablespoon Epsom salt (magnesium)
- ½ cup coffee grounds (nitrogen)
- 1 gallon water
Method:
- Blend all ingredients thoroughly
- Steep 24 hours
- Strain well
- Dilute 1:4
Application: Water plants every 2 weeks or spray foliage monthly
Dry Fertilizer Mix
Make in bulk and store:
Ingredients:
- 4 parts dried banana peel powder (potassium)
- 2 parts dried, ground eggshells (calcium)
- 2 parts dried coffee grounds (nitrogen)
- 1 part wood ash (potassium, pH adjustment)
Method:
- Mix ingredients thoroughly
- Store in airtight container (lasts 6-12 months)
Application:
- Mix 2-4 tablespoons into soil when planting
- Side-dress plants with 1-2 tablespoons monthly
- Water after application
Application Tips
When to fertilize:
- Early spring (start of growing season)
- Every 2-4 weeks during active growth
- Stop or reduce in fall/winter (dormant season)
How to apply safely:
- Always water plants before fertilizing (prevents burn)
- Keep fertilizer away from stems/trunks (2-3 inch gap)
- Water after applying dry fertilizers
- Use diluted liquid fertilizers (too strong burns roots)
Signs of over-fertilizing:
- Leaf burn (brown edges)
- Excessive leafy growth but no flowers/fruit
- White crust on soil surface
- Wilting despite adequate water
If over-fertilized:
- Flush soil with water (water thoroughly 2-3 times)
- Stop fertilizing for 4-6 weeks
- Remove damaged foliage
Storage and Safety
Liquid fertilizers:
- Refrigerate in labeled containers
- Use within 2 weeks
- Shake before using
Dry fertilizers/powders:
- Store in airtight jars
- Keep cool and dry
- Label with ingredients and date
- Use within 6-12 months
Safety:
- Wear gloves when handling manure or nettles
- Label all containers clearly
- Keep away from children and pets
- Don’t use fertilizers on edible parts close to harvest
Troubleshooting
Tea smells bad → Normal for manure and nettle tea. Fermenting produces odor. Keep bucket away from house.
Plants not responding → May need time (2-4 weeks). Or soil severely deficient (consider soil test + commercial supplement).
Leaves yellowing after application → Possibly too strong. Dilute more next time. Flush soil with water.
Mold on dry materials → Stored in damp conditions. Dry completely before storing.
What Homemade Fertilizers Can’t Do
Limitations:
- Won’t fix severe deficiencies quickly
- Can’t provide precise N-P-K ratios
- Require time to prepare
- Some smell unpleasant
When to use commercial fertilizers:
- Severe nutrient deficiency requiring fast correction
- Need specific N-P-K ratio
- Don’t have time or materials for homemade options
Homemade fertilizers work best as regular maintenance nutrition, not emergency rescue treatments.
Quick Reference Chart
| Material | Primary Nutrient | Best For | Speed |
|---|---|---|---|
| Grass clippings | Nitrogen | Leafy plants | Fast |
| Coffee grounds | Nitrogen | Acid-lovers | Moderate |
| Eggshells | Calcium | Tomatoes, peppers | Slow |
| Banana peels | Potassium | Fruiting plants | Moderate |
| Nettle tea | Nitrogen + trace | Heavy feeders | Fast |
| Manure tea | Balanced N-P-K | Everything | Fast |
| Compost tea | Balanced | Everything | Moderate |
| Wood ash | Potassium, calcium | Root crops | Moderate |
The Bottom Line
Homemade fertilizers turn waste into plant food while building healthier soil. Start with one or two simple recipes — grass clipping mulch and coffee grounds require no preparation and work immediately.
As you gain confidence, try brewing manure tea or nettle tea for more powerful liquid fertilizers. Combine multiple ingredients for balanced all-purpose blends.
You won’t eliminate commercial fertilizers entirely, but you’ll reduce costs while recycling nutrients that would otherwise go to waste. Every kitchen scrap and grass clipping you use is free nutrition your plants absorb while reducing your trash output.
The best fertilizer is the one you’ll actually use consistently. Choose methods that fit your time, materials, and garden needs.