Vegetable Garden: 5 Most Common Seeding Mistakes
Avoid these critical seeding errors that compromise your vegetable harvest. Learn proper spacing, depth, watering, and timing for successful garden starts.
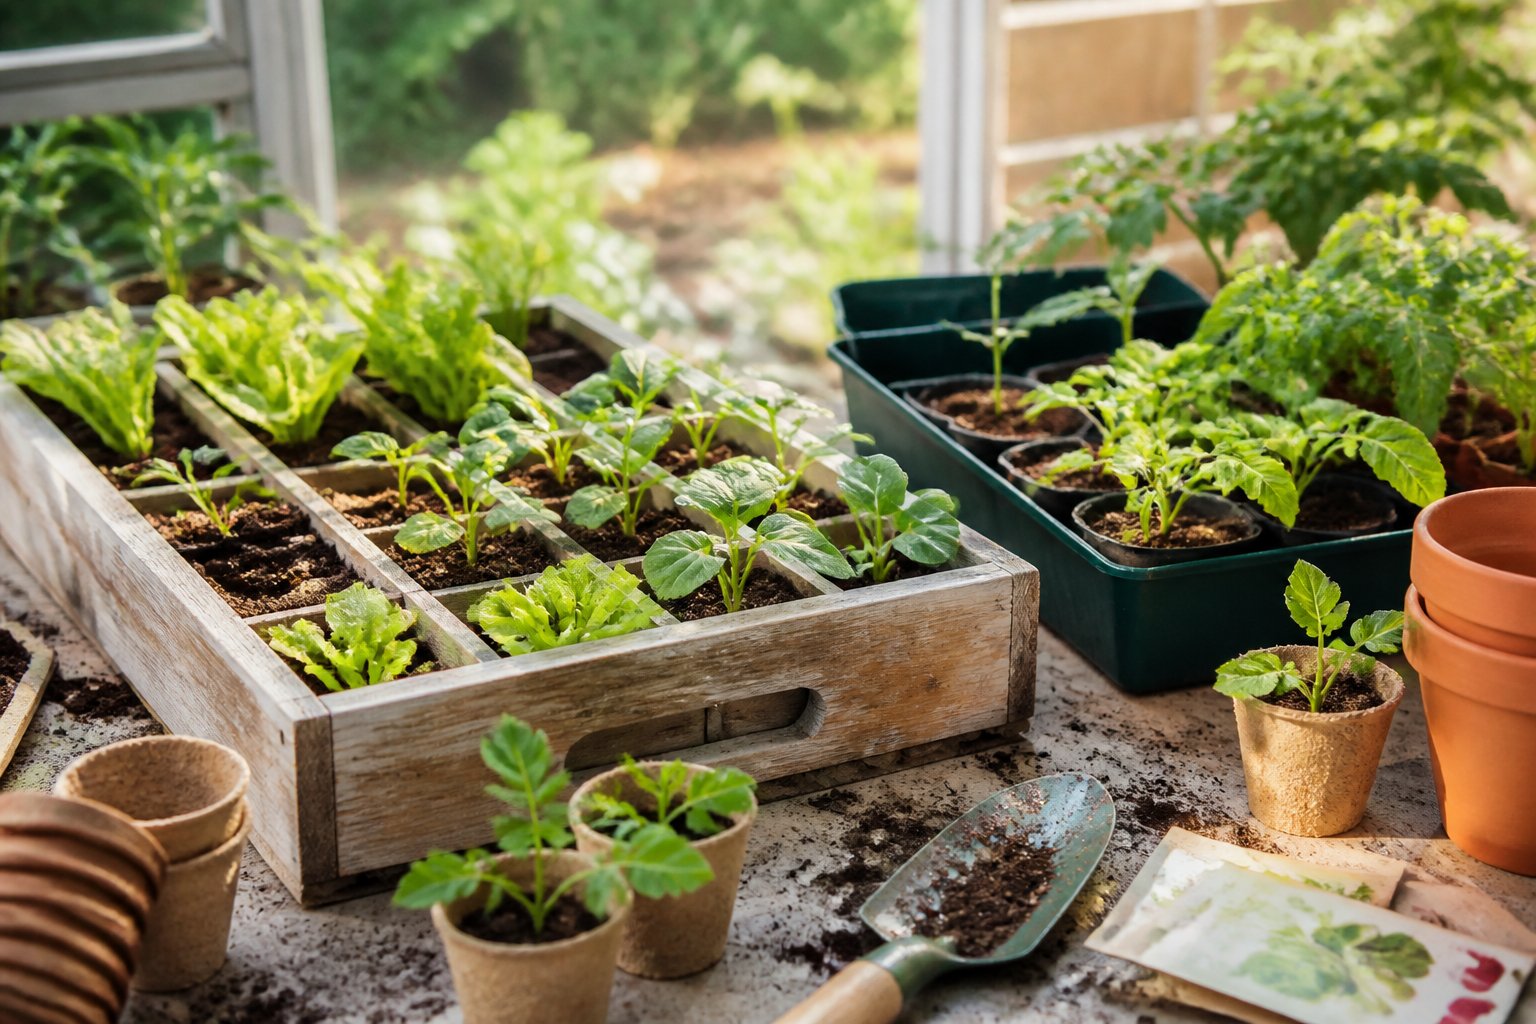
You’ve planted your vegetable seeds with high hopes, but weeks later your garden looks disappointing — patchy germination, leggy seedlings, or plants that never thrived. The problem often starts at planting. Here are the five most common seeding mistakes that sabotage vegetable gardens and how to avoid them.
Mistake 1: Planting Seeds Too Deep or Too Shallow
The single most common reason seeds fail to germinate properly.
Why depth matters:
- Seeds have limited energy reserves to reach the surface
- Too deep → seedling exhausts energy before emerging, dies underground
- Too shallow → seed dries out, exposed to birds/wind, poor root anchorage
- Each seed type has evolved optimal germination depth
The general rule: Plant seeds 2-3 times deeper than their diameter
Specific vegetable depths:
Surface sowing (barely covered, need light to germinate):
- Lettuce, celery, snapdragons
Very shallow (¼ inch / 6mm):
- Carrots, radishes, lettuce (if not surface sown)
- Small seeds in general
- Brassicas (cabbage, broccoli, kale)
Shallow (½ inch / 12mm):
- Beets, Swiss chard, spinach
- Onions, leeks
- Most herbs
Medium depth (¾-1 inch / 2-2.5cm):
- Tomatoes, peppers, eggplant (when direct seeding)
- Bush beans
- Cucumbers, squash, melons
- Corn
Deep (1-2 inches / 2.5-5cm):
- Large beans (runner, lima, fava)
- Peas
- Large squash and pumpkin seeds
How to plant at correct depth:
- Make proper furrow: Use finger, dibber, or hoe to create consistent depth
- Check with ruler: Especially for first few plantings (until you develop feel)
- Cover appropriately: Backfill with fine soil, press gently
- Mark rows: Label so you remember what’s where
- Water gently: Don’t wash away or bury seeds deeper
Soil texture affects depth:
- Clay soil → plant slightly shallower (harder for seedlings to push through)
- Sandy soil → can plant slightly deeper (soil looser, dries faster)
- Heavy mulch → reduce planting depth by mulch thickness
Mistake 2: Inadequate or Inconsistent Watering
Seeds need consistent moisture to germinate — too much or too little fails.
Why water is critical:
- Seeds must absorb water to activate germination (imbibition)
- Dry soil → seed stays dormant or dies
- Waterlogged soil → seed rots, no oxygen for germination
- Inconsistent moisture → seed starts germinating, dries out, dies
Common watering mistakes:
Planting in dry soil: Seeds won’t germinate until moisture arrives, delaying by weeks
Not watering immediately after planting: Seeds need moisture contact right away
Letting soil surface dry between waterings: Surface drying kills germinating seeds before they emerge
Overwatering: Waterlogged soil drowns seeds, causes fungal disease
Using strong spray: Washes seeds away or buries them too deep
Watering at midday in hot sun: Much water evaporates before reaching seeds
Proper watering for seed germination:
Before planting:
- Water area thoroughly day before planting
- Let drain overnight (soil moist but not soggy)
- Soil should hold together when squeezed but not drip
At planting:
- If soil dried, water furrow before dropping seeds
- Plant seeds
- Cover with soil
- Water gently but thoroughly with fine spray
After planting (until germination):
- Keep soil surface consistently moist (not saturated)
- Water gently once or twice daily if needed (hot/dry weather)
- Morning watering best (reduces disease)
- Use fine spray, mist, or soaker hose (not strong jet)
- Check daily — soil surface should never completely dry
- Reduce watering once seedlings emerge
Tools for gentle watering:
- Watering can with fine rose (shower head)
- Hose with mist nozzle
- Soaker hoses (ideal for rows)
- Drip irrigation
- Light row covers (reduce moisture loss)
After seedlings establish (2-3 true leaves):
- Switch to deep, less frequent watering
- Water when top inch of soil is dry
- Encourages deep root growth
Mistake 3: Crowding Seeds (Not Spacing Properly)
Planting seeds too close together creates competition and weak plants.
Why spacing matters:
- Plants compete for light, water, nutrients, and air circulation
- Crowded plants become leggy reaching for light
- Poor air circulation → fungal disease (damping off, powdery mildew)
- Smaller roots → weaker plants, lower yields
- Difficult to thin without damaging neighbors
- Weaker plants more susceptible to pests
The “more is better” fallacy: Planting extra seeds “for insurance” then failing to thin creates worse problems than careful spacing from the start
Proper spacing approach:
Option 1: Precision planting (best for large seeds):
- Space seeds at final desired distance
- Plant 2 seeds per spot
- Thin to strongest seedling if both germinate
- No further thinning needed
Option 2: Plant thick, thin later (traditional, works for small seeds):
- Sow seeds closer than final spacing
- Thin progressively as seedlings grow
- First thinning at 1-2 inches tall
- Second thinning at 4-6 inches
- Final spacing to recommended distance
Proper spacing by vegetable:
Very close (1-2 inches final):
- Carrots, radishes, lettuce, spinach, arugula
- Baby greens (cut-and-come-again)
Close (4-6 inches):
- Beets, turnips, green onions, kale
- Bush beans
Medium (8-12 inches):
- Broccoli, cabbage, cauliflower
- Chard, mature lettuce heads
- Peppers, eggplant
Wide (12-24 inches):
- Tomatoes (depending on variety and support)
- Squash, cucumbers (bush varieties)
- Corn (in blocks, not single rows)
Very wide (2-4 feet):
- Vining squash, pumpkins, melons
- Indeterminate tomatoes
- Pole beans (if spacing poles)
Row spacing: Also critical
- Check seed packet for between-row spacing
- Allows access for weeding, harvesting
- Improves air circulation
- Intensive spacing (square foot gardening) reduces row spacing but not plant spacing
Thinning properly:
When thinning is necessary (and it usually is):
- Don’t pull — disturbs roots of keepers
- Snip with scissors at soil level
- Thin when soil is moist (easier, less disturbance)
- Do it early before roots intertwine
- Be ruthless — one strong plant better than three weak ones
- Compost or eat thinnings (baby greens are delicious)
Exception: Some vegetables actually benefit from closer spacing:
- Carrots grown for baby carrots
- Salad greens for continuous harvest
- Green onions
- Radishes (but still need some space)
Mistake 4: Planting Everything at the Same Time
Not all vegetables want to be planted at the same time.
Why timing matters:
- Cool-season crops bolt (go to seed) in heat
- Warm-season crops rot in cold soil
- Each vegetable has optimal soil temperature for germination
- Wrong timing → poor germination, weak plants, disease, wasted seeds
Common timing mistakes:
Planting warm-season crops too early:
- Seeds rot in cold soil (beans, corn, squash, cucumbers)
- Transplants stunted by cold (tomatoes, peppers, eggplant)
- Frost kills emerging seedlings
Planting cool-season crops too late:
- Lettuce, spinach bolt immediately in summer heat
- Peas fail in hot soil
- Broccoli “buttons” (tiny heads, useless)
Planting entire packet at once:
- Everything matures simultaneously
- Harvest glut followed by nothing
- Lettuce bolts before you can eat it all
Planting by calendar date without considering local conditions:
- Seed packet dates are guidelines, not rules
- Your microclimate may be warmer or cooler
- Soil temperature matters more than air temperature or date
Proper planting timing:
Cool-season vegetables (plant early spring or fall):
Tolerate light frost, prefer 40-75°F (4-24°C):
- Peas, lettuce, spinach, arugula
- Radishes, turnips, beets
- Broccoli, cabbage, cauliflower, kale
- Onions, leeks, garlic
- Carrots (can go in early)
Planting windows:
- Spring: 4-6 weeks before last frost
- Fall: 6-8 weeks before first frost (check days-to-maturity)
Warm-season vegetables (wait for warm soil):
Need consistent warmth, damaged by frost:
Moderately warm (soil 60°F / 15°C minimum):
- Corn, beans (most types)
- Cucumbers
Very warm (soil 65-70°F / 18-21°C minimum):
- Tomatoes, peppers, eggplant
- Squash, melons, pumpkins
Planting windows:
- After last frost date
- When soil temperature consistently above minimum
- Morning soil temp check: use soil thermometer at 4-inch depth
Succession planting (stagger plantings):
Instead of planting entire row at once, plant small amounts every 1-3 weeks:
Best for succession:
- Lettuce, spinach, arugula → every 2 weeks, spring and fall
- Beans → every 2-3 weeks until mid-summer
- Carrots → every 3 weeks, spring through summer
- Radishes → every 10-14 days
- Corn → 2-3 plantings, 2 weeks apart (ensures pollination overlap)
- Beets → every 3 weeks
Benefits:
- Continuous harvest instead of glut
- Spreads out workload (harvest, preservation)
- Reduces pest pressure (not all at same stage)
- Minimizes waste
Mistake 5: Ignoring Soil Quality and Preparation
Seeds contain energy for germination, but seedlings need quality soil immediately.
Why soil quality matters:
- Poor soil → weak, stunted plants even if seeds germinate
- Compacted soil → roots can’t penetrate, seedlings struggle
- Nutrient-poor soil → plants yellow, grow slowly
- Wrong pH → nutrients unavailable even if present
- Poor drainage → seeds rot, roots suffocate
Common soil mistakes:
Planting in unprepared soil:
- Hard, compacted clay
- Weedy, root-filled ground
- Depleted soil from last season
Using wrong soil amendments:
- Fresh manure (burns seeds/seedlings)
- Wrong fertilizer type or amount
- Not adjusting pH
Planting in cold, wet spring soil:
- Compacts when worked
- Seeds rot
- Soil structure damaged
Neglecting drainage:
- Seeds rot in waterlogged soil
- Roots can’t get oxygen
Poor seedbed preparation:
- Large clods, rocks
- Uneven surface
- Seeds can’t make good soil contact
Proper soil preparation for seeding:
Weeks before planting:
- Test soil: pH and nutrients (every 2-3 years)
- Add amendments:
- Compost (2-3 inches worked in)
- Aged manure (NOT fresh)
- Lime or sulfur (if pH adjustment needed)
- Rock minerals as indicated by test
- Let amendments incorporate: 2-4 weeks before planting
Just before planting:
- Wait for proper conditions: Soil should be workable (not wet/muddy)
- Test: Squeeze handful; should crumble, not form mudball
- Turn/till if needed: Break up compacted areas (but don’t over-till)
- Break up clods: Rake to fine texture for small seeds
- Level soil: Remove high/low spots (water pools, seeds wash away)
- Create good seedbed: Firm but not compacted, fine textured
For large seeds (beans, peas, corn):
- Rougher seedbed acceptable
- Just break large clods, remove debris
For small seeds (carrots, lettuce, brassicas):
- Very fine seedbed essential
- Rake repeatedly, remove stones/sticks
- Seeds need good soil contact
Soil temperature consideration:
- Don’t plant in cold, wet soil just because calendar says so
- Cold soil = slow/no germination + disease
- Use row covers or black plastic to warm soil faster
Ongoing soil care:
Between plantings:
- Add compost before each succession planting
- Mulch to conserve moisture, moderate temperature
- Avoid walking on planting beds (compacts soil)
Season-end:
- Add compost/amendments
- Consider cover crop (fixes nitrogen, prevents erosion)
- Don’t leave beds bare over winter
Additional Seeding Tips
Read the seed packet:
- Depth, spacing, timing all listed
- Days to germination (so you know when to expect seedlings)
- Days to maturity (for succession planning)
Label everything:
- You will not remember what’s planted where
- Include variety name and date
Use quality seeds:
- Fresh seeds germinate better
- Store leftover seeds properly (cool, dry, sealed)
- Most viable 1-3 years depending on type
Consider starting transplants indoors:
- For plants with long growing seasons (tomatoes, peppers)
- Gets head start in short-season climates
- Better control of conditions
- But some vegetables don’t transplant well (carrots, beans, peas) — direct seed those
Protect emerging seedlings:
- Row covers (warmth, pest protection)
- Bird netting (birds eat seeds and seedlings)
- Slug barriers
- Light mulch around (not over) seedlings once established
Monitor germination:
- Check daily
- Note what germinates (or doesn’t)
- Adjust technique for next time
For comprehensive vegetable gardening guidance, see our beginner’s vegetable garden guide.
The Bottom Line
Most vegetable garden failures start with seeding mistakes. Plant at correct depth (2-3× seed diameter), water consistently, space properly and thin ruthlessly, plant at the right time for each vegetable, and prepare quality soil before seeding.
These fundamentals determine whether your garden thrives or disappoints. Master proper seeding technique and you’ll see dramatically improved germination rates, stronger seedlings, healthier plants, and bigger harvests.
Check seed packets for specific requirements, adjust timing to your local climate and soil temperature, succession plant for continuous harvests, and prepare soil properly before seeding. Your vegetable garden will thank you with abundant yields all season long.